Building Custom Fonts for the React Native App
You may have changed the text fonts while messaging your friends or posting content on social media platforms. A variation of fonts is a go-to feature in every app.

Here, in this tutorial blog, I will explain how developers of react native development companies customize fonts in your React Native app; thereby enhancing your knowledge.
There are some default fonts in case you are okay with a single font style. For Android devices, it is Roboto and for iOS devices, it is San Francisco. If you want to play with the font style, then follow the steps I explain below.
Prior Knowledge and Understanding
You have to be acquainted with the fundamentals of the framework. This goes without saying that you have to be aware of the framework's utility and how it has advanced the mobile app development process and that too for cross-platform.
• Further, you have to make your system compatible with the React Native environment. Install software such as Visual Studio Code, Android Studio, an emulator or Virtual device, and other necessary dependencies. You can check the article for reliable assistance.
Since I will be using React Native CLI, you need to focus on the same segment and get the software mentioned for the React Native CLI.
• Customizing fonts is one of the vital features of an app. So you should learn how to create a basic React Native app. A simple ‘Hello World’ will work.
This will provide you with some basic understanding of creating a codebase, editing codes, and running the app on the emulator. Get detailed insight about creating and running a React Native app from the linked article.
Starting with the Codebase in the App.js Folder
Firstly, you need to import all the components you will be using in this project. For the current project, I have used Stylesheet, Text, and View. These three components are imported from the ‘react-native’ JS library.
Also, I have used another JS library, React, for building user interfaces. It is used to create components, handle state and props, utilize event listeners, and certain life cycle methods to update data as it changes.
Consider the below-given syntax.
import {StyleSheet, Text, View} from 'react-native';
import React from 'react';
Now moving forward on the sidelines, you have to introduce a constant function App to return a component. The syntax for the same is given below.
const App = () => {
I have to display a text element on the app screen. This is the main element of which I will show changes in font styles. The text element is ‘HELLO TANUSREE’. Note that you cannot add the Text component alone. For this, you have to wrap the Text component with a View component. You can use styling objects for both the container and the text element.
As the main part of the codebase is done, you have to use the line export default App. this will let you export the component App and make it available to use.
Refer to the below-provided syntax
Now, we will start with using the StyleSheet component that I imported at the beginning of the code line. Let's see the parameters used to design the container.
const styles = StyleSheet.create({
  container: {
    flex: 1,
    justifyContent: 'center',
    alignItems: 'center',
Here, I styled the container with justifyContent as center, alignItems as center, and flex as 1.
Here, the main segment of the project I emphasized throughout this blog: the font family.
  text: {
    fontSize: 50,
    fontFamily: 'Marhey-Regular',
  },
});
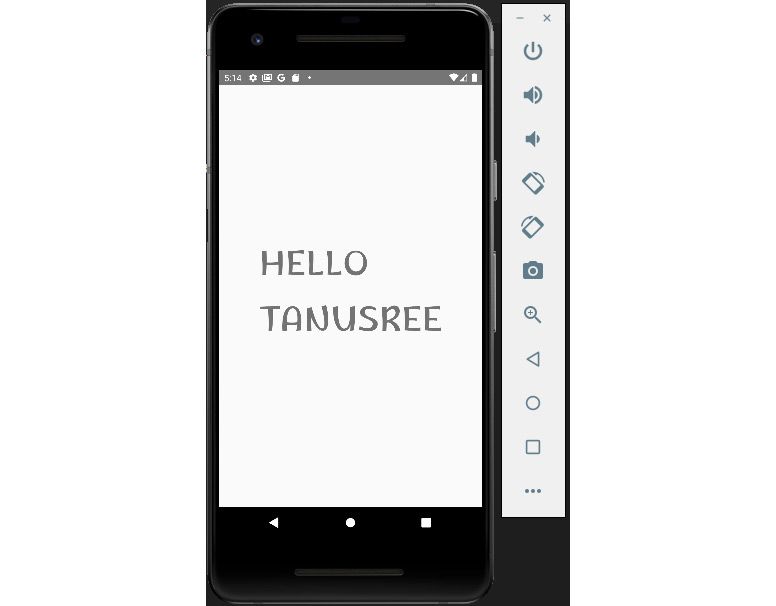
As you can see in the above syntax, it shows the Marhey-Regular as the font style of the text element. It will provide you with the output as shown in image 1. You can change this in other styles. Let's see how.

Image 1
Alteration in android/app/src/main/assets/fonts
You can't just randomly add the name of the font style in the app.js file and make the changes in your app. You have to download the font library you want to use. You can download the same from https://fonts.google.com/about. Go to fonts and search for the style you want to use in your app.
I have used Marhey-Regular, RubikBubbles-Regular, and YatraOne-Regular fonts for this app. After you download the library in your system, extract the files containing the fonts. It is in .ttf format. Save all these files in android/app/src/main/assets/fonts in your app directory. Don't forget to save after executing the operation.
Now you can change the name of the font style in the fontFamily segment in the app.js folder to see the changes in your app display.
Running the App on the Emulator
This is a gradual step where you need to run some commands on the project terminal. Let's see what those are.
1. The first command is npm install. It will help you to install all the needed app dependencies.
2. The second command is NPX react-native run-android. It is for starting the emulator and bundling the same.
3. Wait for some time until the terminal displays the text “BUILD IS SUCCESSFUL’.
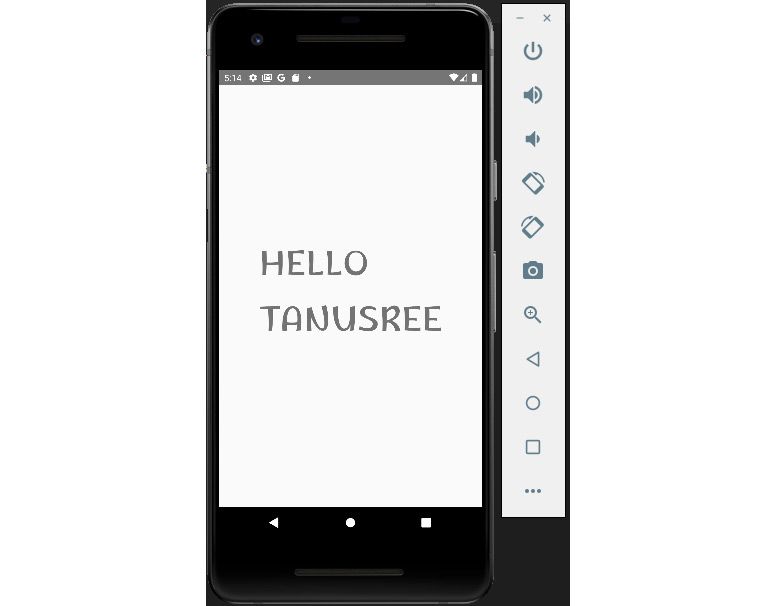
4. As for my project, the font style is set as Marhey-Regular, it is showing me the font as given in image 2.

Image 2
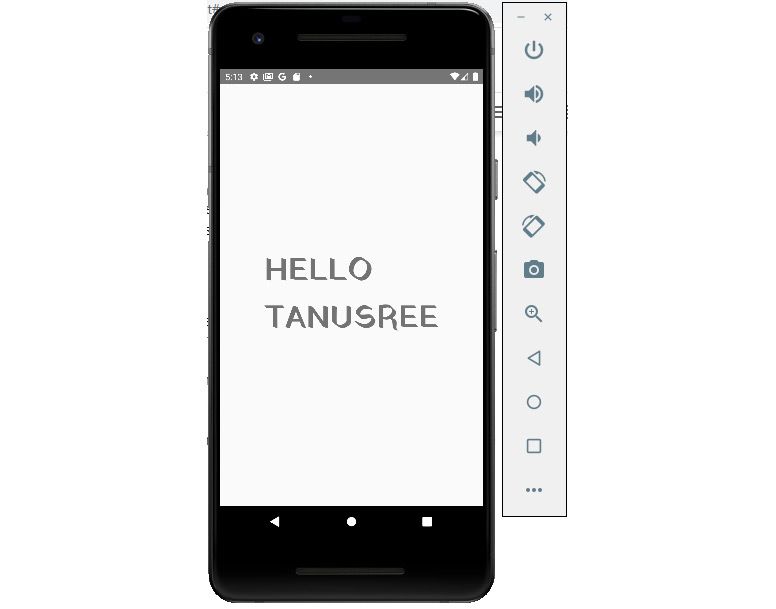
When I add the font style YatraOne-Regular in the fontFamily, it will show the screen as shown in image 3.

Image 3
Note that you have to save every time you change each font. This will give you the correct display. This is how you can play with different font styles.


