
How to Add an External Plugin to TinyMCE v5
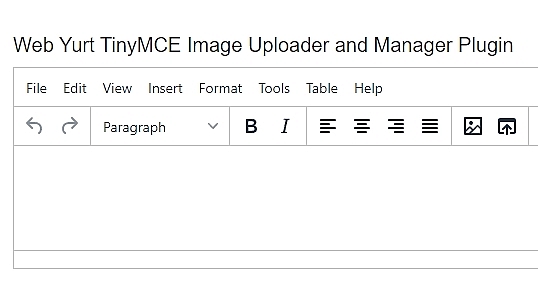
TinyMCE is a powerful and flexible WYSIWYG editor that allows you to extend its functionality through plugins. We will show you how to add an external plugin to TinyMCE v5. We will use a plugin named Web Yurt TinyMCE Image Uploader as an example.
You can download the Web Yurt TinyMCE Image Uploader Manager Plugin.
This plugin will enable you to integrate a custom image manager into TinyMCE so users can upload or select images directly from the editor.
1. Setting Up TinyMCE
To include TinyMCE in your project, you can either use the CDN or reference your locally hosted files. Here are both options:
Using CDN
<script src="https://cdn.tiny.cloud/1/no-api-key/tinymce/5/tinymce.min.js"></script>Using Local Files
If you have downloaded and uploaded the TinyMCE files to your host, you can include it like this:
<script src="webyurt_image_manager/js/tinymce5/js/tinymce/tinymce.min.js"></script>Choose the option that best fits your setup!
Once TinyMCE is included, the next step is to configure the editor to use your custom external plugin.
2. Directory Structure for the External Plugin
Let’s assume you have a custom image manager plugin called Web Yurt TinyMCE Image Uploader. The plugin files should be placed in the following directory on your server:
/wy_image_manager/webyurt_image_manager/js/tinymce5/external_plugins/wyimagemanager/Within this directory, you should have aplugin.jsfile that contains the logic for the plugin.
3. Adding the Plugin to TinyMCE
To add the plugin to TinyMCE, you need to specify the path to the external plugin using theexternal_pluginsoption in the TinyMCE configuration. Here's how to configure TinyMCE to use the Web Yurt TinyMCE Image Uploader:
<script>
tinymce.init({
    selector: '#editor', // The selector for your editor
    height: 500,

    // Register the external plugin
    external_plugins: {
        'WYImageManager': '/wy_image_manager/webyurt_image_manager/js/tinymce5/external_plugins/wyimagemanager/plugin.js'
    },

    // Add the plugin button to the toolbar
    toolbar: 'bold italic | WYImageManager',

    // Custom file picker callback that opens the Web Yurt Image Manager and inserts the selected file into TinyMCE
    file_picker_callback: function (callback, value, meta) {
        OpenWYImageManager(callback, value, meta);
    },

});
</script>
Updating the Plugin Path in TinyMCE Configuration
Yes, you can definitely change the path according to your TinyMCE v5 installation. The path you specify in theexternal_pluginsconfiguration needs to reflect where your plugin file is located relative to your TinyMCE setup.
Example Path Configuration
If your project structure allows you to use a shorter path, such as:
external_plugins: {
    'WYImageManager': '/js/tinymce5/external_plugins/wyimagemanager/plugin.js'
},
Complete Example
Here’s how your TinyMCE initialization would look with the updated path:
<script>
tinymce.init({
    selector: '#editor', // Replace with your editor selector
    height: 500,
    menubar: true,

    // Use the updated path for the external plugin
    external_plugins: {
        'WYImageManager': '/js/tinymce5/external_plugins/wyimagemanager/plugin.js'
    },

    // Add the plugin button to the toolbar
    toolbar: 'bold italic | WYImageManager',

    // Custom file picker callback that opens the Web Yurt Image Manager and inserts the selected file into TinyMCE
    file_picker_callback: function (callback, value, meta) {
        OpenWYImageManager(callback, value, meta);
    },

});
</script>
Integrating external plugins with TinyMCE v5 is a great way to extend the editor’s functionality to meet your specific requirements. By following the steps in this guide, you can easily add a custom image uploader plugin like Web Yurt TinyMCE Image Uploader to enhance the editing experience.
The plugin allows users to open a custom image manager window, making it easy to insert images into the TinyMCE editor. Now that you can integrate this plugin, you can also customize and expand it to suit your project’s needs.
LEAVE A COMMENT


0.097