

10 Practical Tips for Great Product Photography
Great product photos play a key part in the success of any online store.
You can hire a professional photographer for the job or you can have a go yourself with these handy DIY product photography hacks to get you started…
1 Lighting
Good lighting is probably the utmost important element of product photography. Several things can be used to accomplish this such as the use of reflectors, a light tent, which are both commercially available or can be made yourself at home, and a couple of energy-saving bulbs, that give off cool light, preferably 5500k. The bulbs can be used in lamps or bulb holders with clips. Also, it’s a good idea to do the photography around mid-day when there is a lot of natural light.
2 Backdrop
For the majority of product images, a clean white background is ideal as all the attention will be drawn to the product itself. To achieve this and create what is known as the “infinity curve”, you would place the item on a curved sheet of white paper or material, so that there will be no horizontal line behind it. This will make cleaning up the image in a photo editing software much easier later on too.
3 Angle
Have a few go at taking a photo at different angles until you find the correct one, as good composition is a must. Research by looking at other images of similar products online and try to shoot at those angles until you are happy with the result.
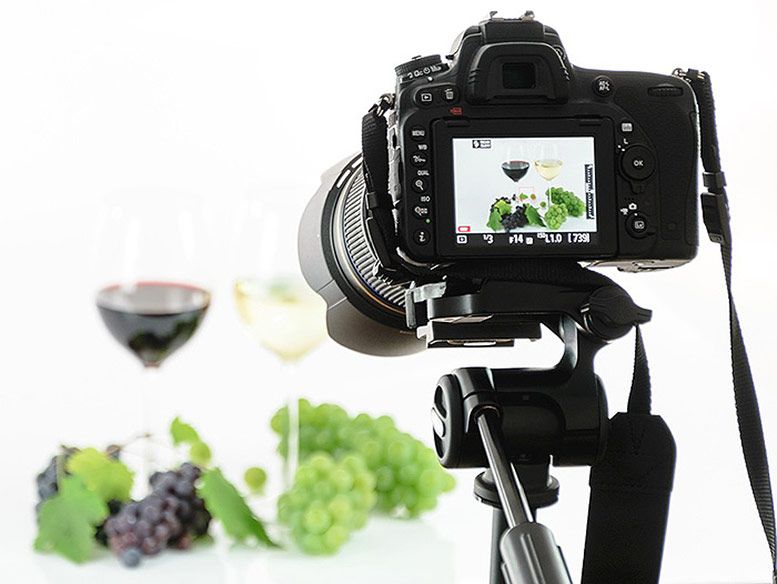
4 Tripod
As the smallest shake or vibration can cause motion blur, use a tripod to keep your camera steady. A small remote is also preferable, which you can use to click to take the photographs rather than touching the main body of the camera. The timer can also be used for this. This is especially important when working with a slow shutter speed as holding the camera by hand will produce blurred images.
5 Photo Editing
Use a good photo editing software such as Adobe Photoshop to remove the white backgrounds and resize images. You may also want to add a watermark to deter other sellers who want to use your photos. These days many great free photo editing applications are also available on the Internet.
6 Size Matters
When resizing images, it is good to give a sense of scale by not featuring a very tiny or rather huge photo as the main image of your product listing. If the item is small in real life, it will look out of proportion if your visitors have to scroll halfway down the page to view it in its entirety. Instead, give the option to view an enlarged image for those who want to take a closer look.
7 Quantity, as well as Quality
The more pictures you have of a product will give potential buyers a better idea of how it will look in reality. Take photos from different angles and show the front, sides or even the back of each product. If you have the same item available in several colours then take photos of all of them, showing the variety of colours to enhance your product listing.
8 Avoid Filters
Filters that are usually used to stylize photos should be avoided when it comes to taking pictures of things that you are going to sell. A clean and simple image looks much more professional.
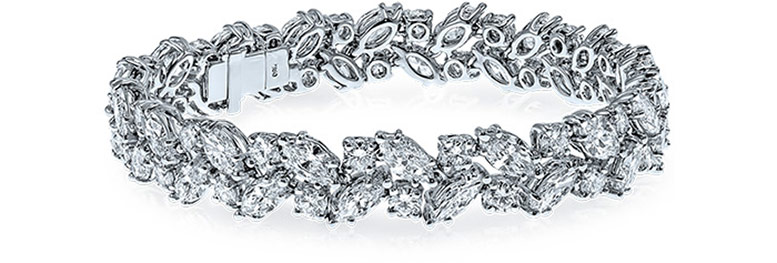
9 Small items
Tiny products like pieces of jewellery should be photographed with the close-up setting on. The little tulip-like symbol that can be seen on most cameras is the Macro setting, which gives a narrow depth of field and enables you to take clear photos of even the smallest of items.
10 Keep the Originals
This is something which we cannot stress enough, as some might say that imitation is the sincerest form of flattery, however, no one likes it when people take product photos from a website without permission and pass them off as their own. It is difficult to entirely stamp out copyright infringement however as the owner of the raw, unedited images from your camera, you have a much stronger case in proving that they were yours to begin with. Also, you might want to back up both your original and edited image files.
So for those who wish to embrace DIY product photography, we hope these tips will help you on your way to creating stunning product photos that turn your browsers into buyers!
LEAVE A COMMENT
?")


")


0.0329
COMMENTS
These Product Photography Tips are really good. Each one of these are going to work very well.
Thanks so much great stuff I really dig the patterns they make for great wallpapers. You’re the best.
Great tips! E-commerce Product Photography is an art so it must be learned properly. A good guide can teach art in a great way.
I loves the tips you shared about product photography. They are helpful for young learners like us. Thanks for sharing!
These product photography tips will be much beneficial for beginner level photographers. But I think you need to write a blog post about photo editing for product photography. Go ahead, brother.